NFS Server and Client Setup
Prepared by: Anwer Sadath Abdul Muttaliff
Prepared by: Anwer Sadath Abdul Muttaliff
This project demonstrates how to set up an NFS server on CentOS 9 and configure a client to access shared directories.
$ sudo yum install -y nfs-utils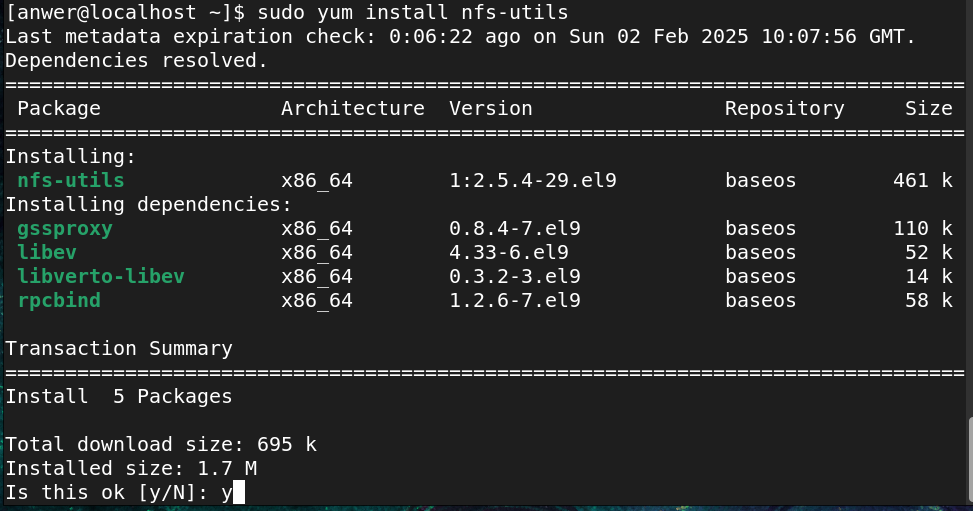
$ sudo systemctl enable --now nfs-server.service
$ sudo systemctl status nfs-server.service$ sudo mkdir -p /exports/backup
$ sudo mkdir -p /exports/documents$ sudo chmod 770 /exports/backup
$ sudo chmod 770 /exports/documents
$ sudo chgrp group1 /exports/backup
$ sudo chgrp group1 /exports/documents
$ sudo chmod g+s /exports/backup
$ sudo chmod g+s /exports/documents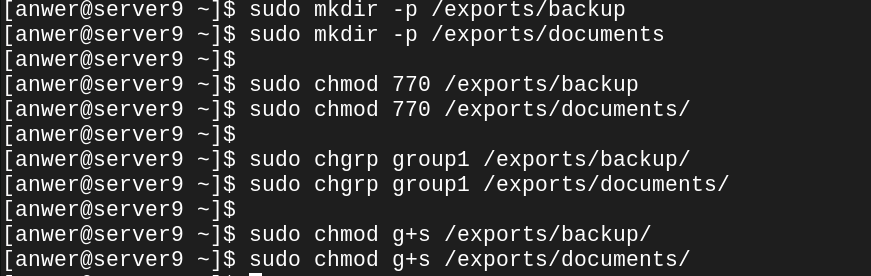
$ sudo vim /etc/exportsAdd the following lines:
/exports/documents  192.168.1.88(rw,sync,no_root_squash)
/exports/backup     192.168.1.88(rw,sync,no_root_squash)
Apply the changes:
$ sudo exportfs -arv
$ sudo firewall-cmd --permanent --add-service=nfs
$ sudo firewall-cmd --permanent --add-service=mountd
$ sudo firewall-cmd --permanent --add-service=rpc-bind
$ sudo firewall-cmd --reload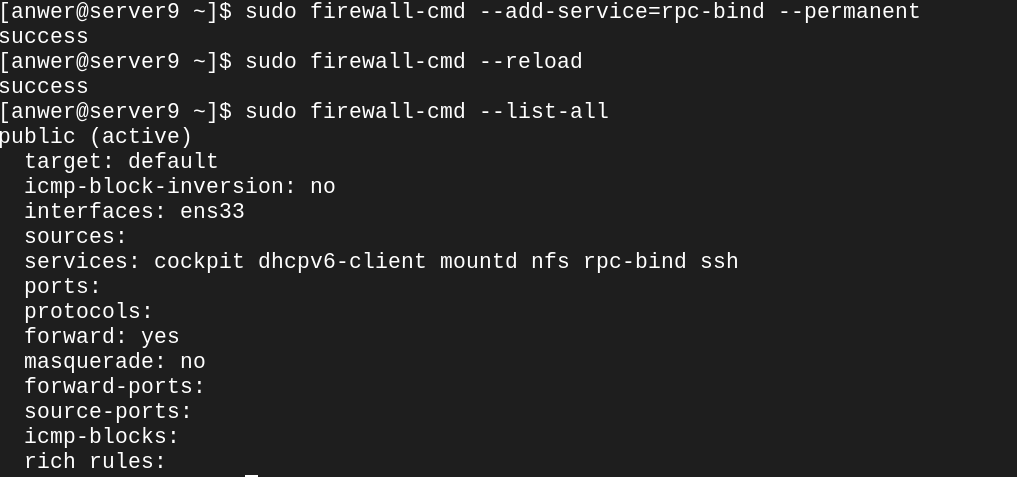
$ sudo yum install nfs-utils$ ping 192.168.1.87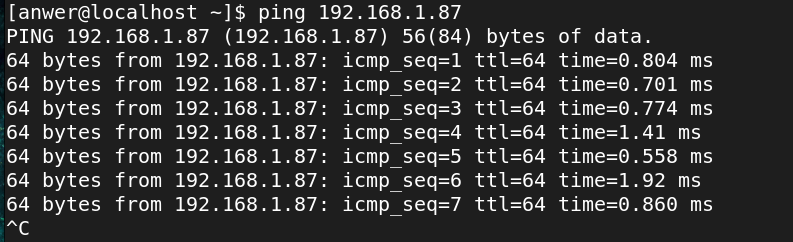
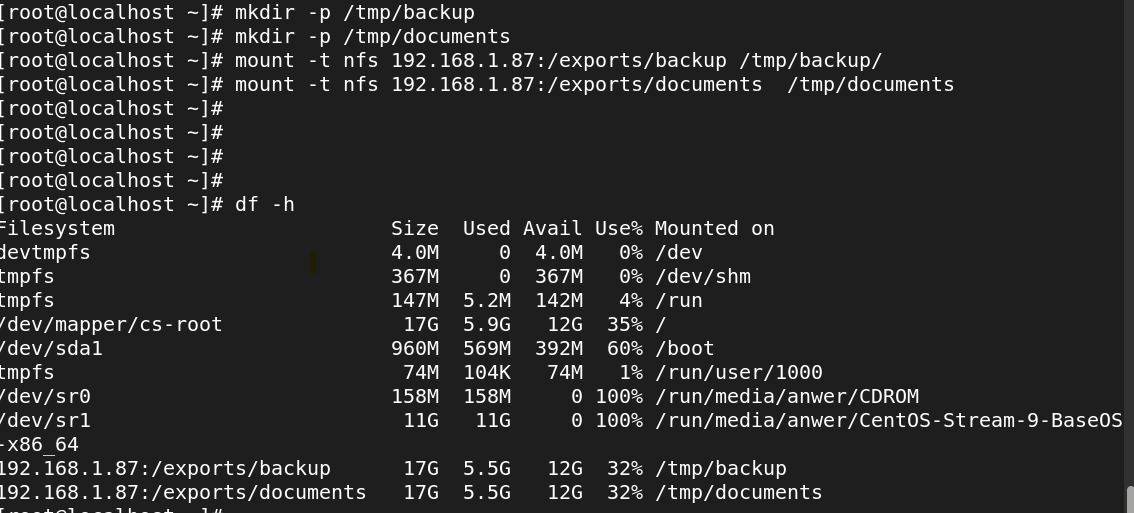
$ mkdir -p /tmp/backup
$ mkdir -p /tmp/documents
$ mount -t nfs 192.168.1.87:/exports/backup /tmp/backup/
$ mount -t nfs 192.168.1.87:/exports/documents /tmp/documents/